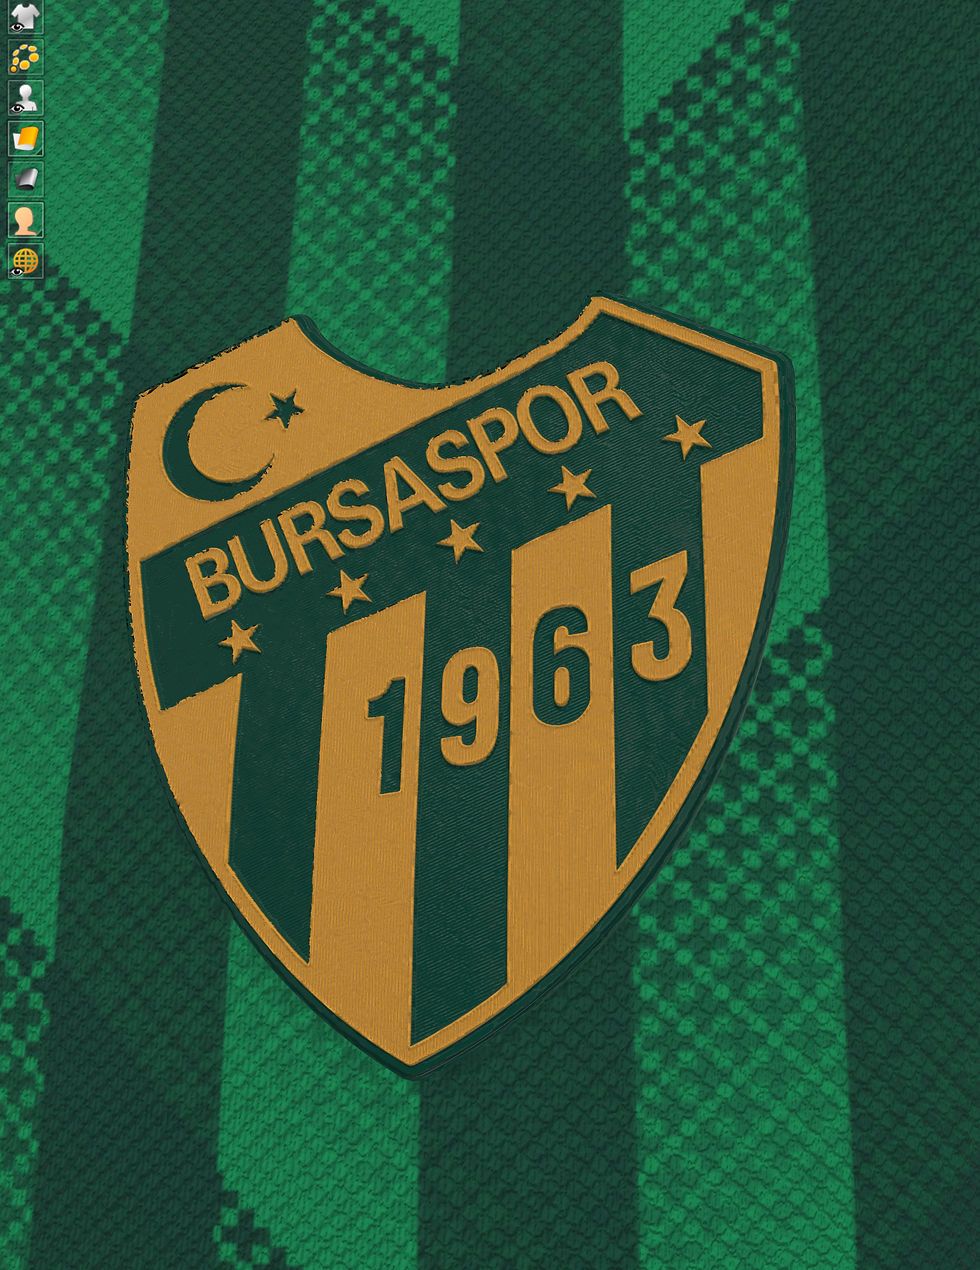
Adding displacement to a logo or crest on your Marvelous Designer and Clo3d designs using Blender
- designsbycorinth
- Jun 3, 2022
- 2 min read
Hello, everyone!
Some people have asked me how I add the displacement effects to the crests on my kits, so I decided to do a quick tutorial on how to do it. I’ll be using Marvelous Designer and Blender. Also, I know Clo3d lets the user add displacement maps to the logos, but IMO, it doesn't look that good, so Clo3d users may also find this tutorial useful.
Step 1: Getting the necessary files:
For this to work, you’ll have to have your crest or logo you want to add the displacement to, as well as a displacement map. In my case, I first create a height map (which is basically the crest in greyscale, with the lighter parts being more ‘elevated’ than the darker ones). After that, I use CPetry’s Normal Map Generator (https://cpetry.github.io/NormalMap-Online/) to create both the normal map and displacement map of my logo.

Step 2: Creating your design in Marvelous Designer/Clo3d and exporting it:
For this step, simply create your design as usual, adding the crest and, if you want, the normal map. After your kit is ready, go to File>Export>FBX and use the following settings:

Step 3: Importing the model into Blender:
This part is very straightforward. Simply go to File>Import>FBX and select your exported model.
Step 4: Separating your logo/crest from the rest of the kit:
In this part, you have to enter on Blender edit mode (by clicking on ‘tab’), then click anywhere outside the kit to remove the selection and, finally, hover over the logo and press ‘L’ to select it. After that, press ‘P’ and select ‘Selection’ to separate the logo/crest from the rest of the kit. Press ‘tab’ again to quit edit mode.

Step 5: Adding the displacement:
Lastly, to add the displacement, select your logo/crest, and, in the bottom-right toolbar, go to the ‘texture properties’ and add a new texture. Then, load your displacement map.

With your displacement map loaded, now go to the ‘modifier properties’, add the ‘subdivision surface’ and ‘displace’ modifiers to the logo/crest and use the following settings:

And, voilà, your crest now has a displacement added to it!
Bonus Step: reimporting the crest to MD/Clo3d
You may want to take your crest back to MD/Clo3d. To do so, all you have to do is delete the rest of the kit in Blender (leaving only the logo/crest), then select your logo and go to File>Export>Wavefront(.obj), using the following settings:

Back to MD/Clo3d, open your kit and go to File>Import(Add)>OBJ, select your exported crest/logo from Blender and use these settings:

And that’s it, you successfully reimported your displaced crest. But please note that, since the crest will be imported as a scene/prop, it won’t move along the kit. Also, it won’t look as good as it does in Blender, so I strongly recommend rendering the kit in Blender instead. If you need, here’s a tutorial on how I render my kits using Blender.

Cheers!

Comments